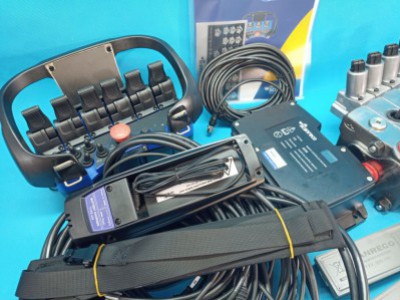
Pairing procedure shown in tutorial at:
Recognition of radio identification code of the portable control unit (Rc400 G2B)
In the Rc400 radio remote controls, the portable control unit works with the linked central unit in radio mode through a unique identification
code. When a portable control unit (or a central unit) is replaced, it's required to update this code to ensure that the system works again. The
portable control unit connected with the serial cable works always (the identification code is ignored).
Recognition procedure:
1) Remove the battery from the portable control unit. Connect the serial cable between the portable control unit and the central unit.
2) Press the emergency stop button of the portable control unit and turn off the central unit (switch in "OFF" position). The lights of the control and the central unit must be turned off.
3) Turn on the central unit (switch in "REMOTE" position) and unlock the portable control unit emergency stop button.
4) Hold the ON/SIGNAL button for about 10 seconds (the red light of the portable control unit turns on and short and repeated sound signals are emitted to ensure that programming is in progress, the internal display of the central unit shows "Po" and "Id").
5) When the programming is finished, the portable control unit turns off and the central unit returns in stand-by mode.
6) Leaving the cable connected, power on again the portable control unit. If everything has worked good, the display inside the receiver will show “1-”.
Note: if a graphic display is installed on the portable control unit, after the second power on, it can take even one or two minutes to load the
display configuration. Meanwhile, on the display, some messages will inform of the work in progress. The display inside the receiver will show a
rotating segment until the process has finished.
When the display configuration has been completely transfered the display inside the receiver will show “1-” (or “1P”).
7) Disconnect the cable, insert the battery and test the radio.
8) If something goes wrong repeat the procedure from the beginning.